 Save to Pinterest
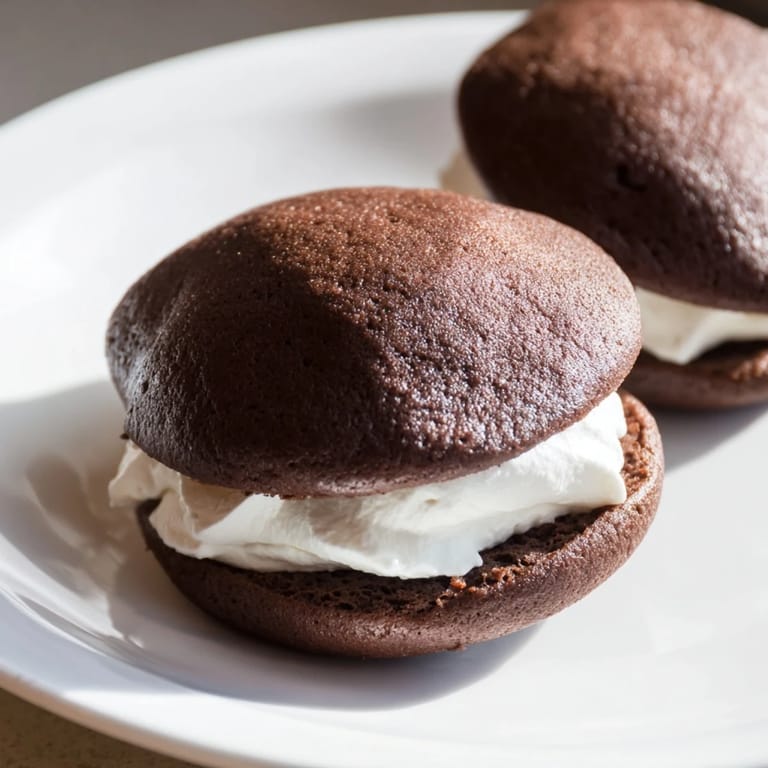
 My grandmother kept a tin of whoopie pies on her kitchen counter in Lancaster, and I'd steal one every time we visited. Years later, I finally asked her for the recipe, expecting some elaborate family secret, but what she handed me was beautifully simple: soft chocolate cakes and a cloud of vanilla filling that tasted like childhood itself. I've since made them countless times, and they never fail to transport me back to that kitchen, the smell of cocoa powder and butter mixing with the sound of her electric mixer whirring away.
I brought a batch to a church potluck once, nervous they'd pale next to the elaborate layer cakes everyone else brought. They were gone within twenty minutes, and three people asked for the recipe that day. There's something about the simplicity of whoopie pies that makes people happy in a way fancy desserts sometimes don't.
Ingredients
- All-purpose flour (2 cups / 250 g): This is your structure, and measuring it by weight rather than volume gives you more consistent results every single time.
- Unsweetened cocoa powder (¾ cup / 75 g): The soul of these cakes—don't skimp on quality here, as it's what makes them taste genuinely chocolatey rather than just brown.
- Baking soda and baking powder (1½ teaspoons and ½ teaspoon): These work together to give the cakes their signature tender, slightly cakey texture.
- Granulated sugar (1 cup / 200 g) and unsalted butter (½ cup / 110 g): Together they create that light, fluffy crumb that makes these different from regular cookies.
- Vegetable oil (½ cup / 120 ml): This keeps the cakes moist and tender; butter alone would make them tougher.
- Eggs (2 large) and buttermilk (1 cup / 240 ml): These are your moisture and acidity, creating a tender crumb and helping the leavening agents do their job properly.
- Vanilla extract (2 teaspoons for cakes, 1 teaspoon for filling): It seems like a small amount, but it ties everything together with warmth.
- Unsalted butter (¾ cup / 170 g for filling), powdered sugar (2 cups / 240 g sifted), and marshmallow creme (about 7 oz / 200 g): The holy trinity of the filling—rich, sweet, and impossibly fluffy when beaten together.
Tired of Takeout? 🥡
Get 10 meals you can make faster than delivery arrives. Seriously.
One email. No spam. Unsubscribe anytime.
Instructions
- Get your oven ready and prep your pans:
- Preheat to 350°F and line two baking sheets with parchment paper. This prevents sticking and ensures even browning on the bottoms.
- Combine all the dry ingredients:
- In a medium bowl, whisk together your flour, cocoa powder, baking soda, baking powder, and salt. This distributes the leavening evenly and prevents lumps of baking soda from creating bitter pockets in your cakes.
- Cream your butter and sugar until fluffy:
- Beat the sugar, butter, and oil together until they're pale and light—this usually takes about 3 minutes with an electric mixer. This step is crucial because it incorporates air, which creates the tender texture these cakes are known for.
- Add your eggs one at a time:
- After each egg, beat well before adding the next one, then mix in your vanilla extract. This ensures even distribution and prevents the batter from looking curdled.
- Alternate wet and dry ingredients:
- Add about a third of the flour mixture, then some buttermilk, then more flour, finishing with flour. Mix just until combined—overmixing develops gluten and toughens the cakes.
- Scoop and bake:
- Drop 2-tablespoon-sized mounds of batter onto your pans, leaving 2 inches between them. Bake for 10 to 12 minutes until they spring back when lightly touched, then cool on the pan for 5 minutes before transferring to a rack.
- Make your filling:
- Beat softened butter until smooth, gradually add sifted powdered sugar, then fold in marshmallow creme, vanilla, and salt. Beat until the whole mixture is fluffy and light—this takes about 2 to 3 minutes.
- Assemble your sandwiches:
- Spread or pipe filling onto the flat side of half your cakes, then top with the remaining cakes. They'll hold together beautifully.
- Chill before serving:
- Pop them in the fridge for 30 minutes so the filling sets and the flavors meld together, creating that perfect texture.
 Save to Pinterest
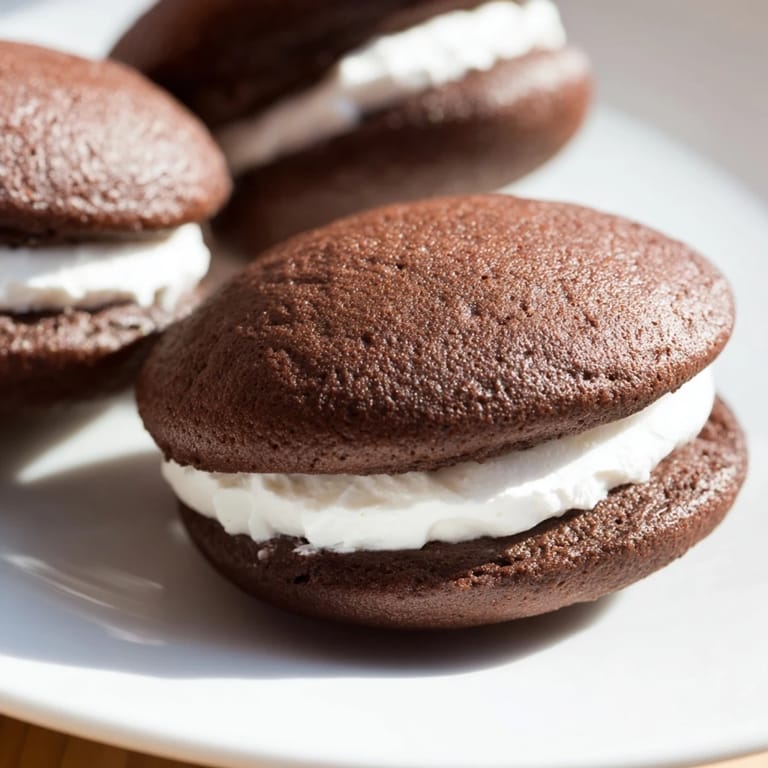
 I once served these at a bake sale, and a woman told me they reminded her of eating them at county fairs as a child. She bought four boxes, then came back the next week asking if I'd make them again. That's when I realized these little cakes carry memories for people, and there's real power in making something that connects like that.
The Secret to Perfect Texture
The magic of whoopie pies lives in the balance between cake and filling. Your cakes should be tender but not dry, and your filling should be fluffy but substantial enough to hold the whole thing together. I've learned that using both butter and oil in the cake batter is what keeps them moist for days, while the marshmallow creme in the filling gives you that cloud-like quality that makes them unmistakably authentic.
Storage and Make-Ahead Tips
These actually improve after a day or two as the flavors settle, making them perfect for baking ahead. I store mine in an airtight container at room temperature, and they stay fresh for up to three days. If you want to get really organized, you can bake the cakes and freeze them for up to a month, then assemble them with fresh filling whenever you need them.
Variations Worth Trying
Once you've mastered the classic version, these cakes are a canvas for creativity. I've experimented with different fillings, added espresso powder to deepen the chocolate flavor, and even tried using shortening in the filling for a more traditional taste. The base recipe is so forgiving that you can play around without worrying about ruining them.
- Add a teaspoon of espresso powder to the cake batter for deeper, more complex chocolate notes.
- Swap some of the vegetable oil for melted coconut oil for a subtle tropical undertone that nobody will quite be able to identify.
- Try swirling a tablespoon of nutella into your filling for a chocolate-hazelnut version that feels fancy but takes no extra effort.
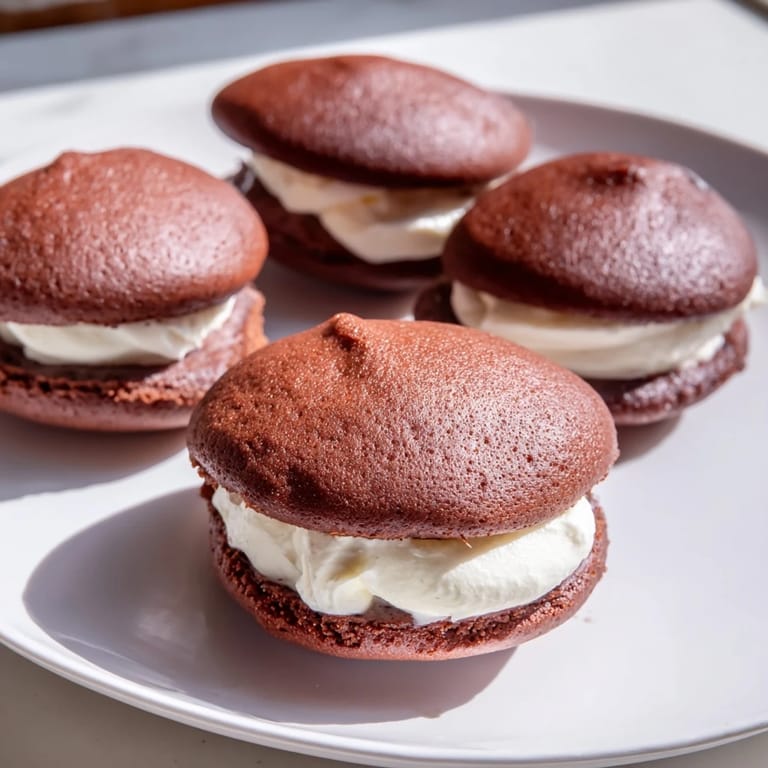 Save to Pinterest
 These whoopie pies deserve a place in your regular dessert rotation. They're the kind of treat that makes people smile and ask for seconds.
Recipe Questions & Answers
- → What gives the cakes their soft texture?
The combination of buttermilk and vegetable oil creates a tender, moist crumb that results in soft cakes.
- → How is the cream filling made fluffy?
Beating softened butter with powdered sugar and marshmallow creme until smooth and airy produces the creamy, fluffy filling.
- → Can I substitute ingredients for dietary needs?
While the original uses dairy and eggs, plant-based alternatives can be used with adjustments but may alter texture.
- → Why chill the assembled sandwiches before serving?
Chilling helps the filling set firmly, making the sandwiches easier to handle and enhancing flavor melding.
- → How long can these treats be stored?
Stored in an airtight container at room temperature, they stay fresh for up to three days.