 Save to Pinterest
 The first time I attempted a character cake, I spent three hours getting the fondant just right only to have it slide right off the buttercream. Now I know that chill time is not optional. This Betty Boop cake has become my go to for birthday celebrations because nothing beats seeing someone is face light up when they recognize their favorite cartoon character in cake form.
My niece demanded a Betty Boop cake for her twelfth birthday and I panicked, watching endless tutorials at midnight the night before. But there is something deeply satisfying about smoothing that black fondant over a perfectly frosted red velvet base. Now it is the cake everyone requests for milestone birthdays.
Ingredients
- All-purpose flour: Provides structure for those tall, tender layers that need to support fondant without collapsing
- Granulated sugar: Creams with butter to create the air pockets that make this cake light and fluffy
- Baking powder: Ensures proper lift so your red velvet layers rise evenly without doming too much
- Unsalted butter: Room temperature butter is non negotiable for proper aeration and tender crumb texture
- Large eggs: Also must be room temperature to emulsify properly with the butter mixture
- Whole milk: Alternating with flour prevents overdeveloping gluten for a soft, velvety texture
- Vanilla extract: Pure vanilla extract adds depth that complements the tangy cream cheese frosting
- Red gel food coloring: Gel coloring is concentrated and will not water down your batter like liquid versions
- Cream cheese: Full fat cream cheese at room temperature creates the smoothest buttercream foundation
- Powdered sugar: Sifting first prevents lumps that would ruin that silky buttercream texture
- Black fondant: Ready to use fondant saves hours compared to coloring white fondant deep black
- White and red fondant: Small amounts go a long way for the iconic eyes and lips
- Cornstarch: Dusting your work surface prevents fondant from sticking and tearing
Tired of Takeout? 🥡
Get 10 meals you can make faster than delivery arrives. Seriously.
One email. No spam. Unsubscribe anytime.
Instructions
- Prep your pans and oven:
- Preheat oven to 350°F and grease two 8-inch round pans, lining bottoms with parchment paper for easy release.
- Whisk the dry ingredients:
- In a medium bowl, combine flour, baking powder, and salt, then set this mixture aside while you work on the wet ingredients.
- Cream butter and sugar:
- Beat butter and sugar on medium speed for about 3 minutes until the mixture looks pale and fluffy like whipped cream.
- Add eggs and vanilla:
- Add eggs one at a time, beating completely after each, then stir in vanilla extract until fully incorporated.
- Combine wet and dry:
- Reduce mixer to low and alternate adding flour mixture and milk in three parts, starting and ending with flour for the perfect texture.
- Add the signature color:
- Mix in red gel food coloring until the batter is a uniform, deep red that looks striking against the white mixing bowl.
- Bake the layers:
- Divide batter evenly between pans, smooth tops, and bake for 25 to 30 minutes until a toothpick comes out clean, rotating pans halfway.
- Cool completely:
- Let cakes rest in pans for 10 minutes before turning onto wire racks to cool entirely, which is crucial before frosting.
- Make the buttercream:
- Beat cream cheese and butter until smooth, about 2 minutes, then gradually add sifted powdered sugar until light and fluffy.
- Level and stack:
- Trim cake domes level with a serrated knife, then stack layers with buttercream between them on your cake board.
- Apply the crumb coat:
- Spread a thin layer of buttercream over the entire cake and chill for 20 minutes to lock in those loose crumbs.
- Final frosting:
- Apply a second, thicker coat of buttercream and smooth the sides and top with a cake scraper until glassy and perfect.
- Roll the fondant hair:
- Dust your surface with cornstarch, roll black fondant to 1/8 inch thick, and cut Betty Boop is signature hair silhouette.
- Create facial features:
- Roll white fondant into large circles for eyes with tiny heart highlights, plus red fondant lips for that classic pouty look.
- Assemble the face:
- Gently position the black hair over the front of the chilled cake, then attach eyes and lips with small dabs of buttercream.
- Add final details:
- Use black fondant to create dramatic eyelashes and eyebrows, plus a red headband coil for that authentic Betty Boop flair.
 Save to Pinterest
 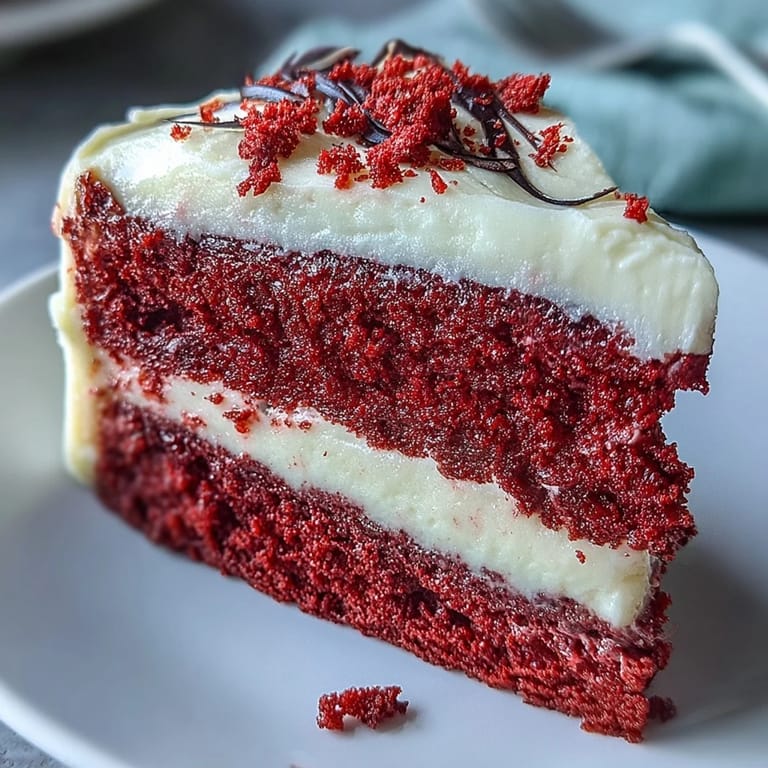 Save to Pinterest
 Watching my niece is eyes widen when I unveiled this cake made every minute of fondant work worth it. There is something magical about transforming a classic cartoon into an edible centerpiece that becomes the heart of the party.
Working With Fondant
Fondant can be temperamental, but keeping your hands lightly dusted with cornstarch prevents sticking without drying it out. Work quickly once the fondant is rolled because it begins to develop a dry skin that becomes difficult to smooth.
Perfect Red Velvet Every Time
The secret to truly velvety texture is not overmixing once you add the flour mixture. Overdeveloped gluten creates a tough, rubbery crumb instead of that signature soft, tender bite that makes red velvet so irresistible.
Assembly Timeline
Plan your decorating day in advance because fondant work requires patience and cannot be rushed. Bake the cake a day ahead, wrap it tightly in plastic, and bring it to room temperature before frosting for best results.
- Make fondant decorations up to 24 hours ahead and store in an airtight container
- Chill your frosted cake for at least 20 minutes before applying fondant pieces
- Let the finished cake rest for 30 minutes before slicing to let flavors settle
 Save to Pinterest
  Save to Pinterest
 This showstopping cake brings cartoon nostalgia to life in the most delicious way possible. Every slice of tender red velvet with tangy cream cheese buttercream will have your guests asking for seconds.
Recipe Questions & Answers
- → How long can I store the finished creation?
Keep refrigerated for up to 4 days, covering loosely with plastic wrap to prevent the buttercream from absorbing odors. Bring to room temperature 30 minutes before serving for optimal texture and flavor.
- → Can I make the fondant pieces in advance?
Absolutely. Prepare all fondant decorations up to 2 days ahead and store in an airtight container at room temperature, separated by parchment paper to prevent sticking.
- → What if I've never worked with fondant before?
Consider practicing on a small piece of fondant first. Dust your work surface and rolling pin with cornstarch instead of flour to prevent sticking. Keep fondant covered when not in use to prevent drying.
- → How do I achieve the deep red color?
Use gel food coloring rather than liquid for concentrated color without altering batter consistency. Start with one tablespoon and add more as needed, remembering that color intensifies during baking.
- → Can I substitute the buttercream?
Swiss meringue buttercream offers a lighter, silkier alternative that pipes beautifully and holds up well in warm weather. The technique involves heating egg whites and sugar before whipping to glossy peaks.
- → Why is my crumb coat pulling up crumbs?
Ensure layers are completely cooled before frosting. Apply buttercream generously and chill for 20 minutes. A warm bench scraper dipped in hot water and dried helps smooth the final coat seamlessly.