 Save to Pinterest
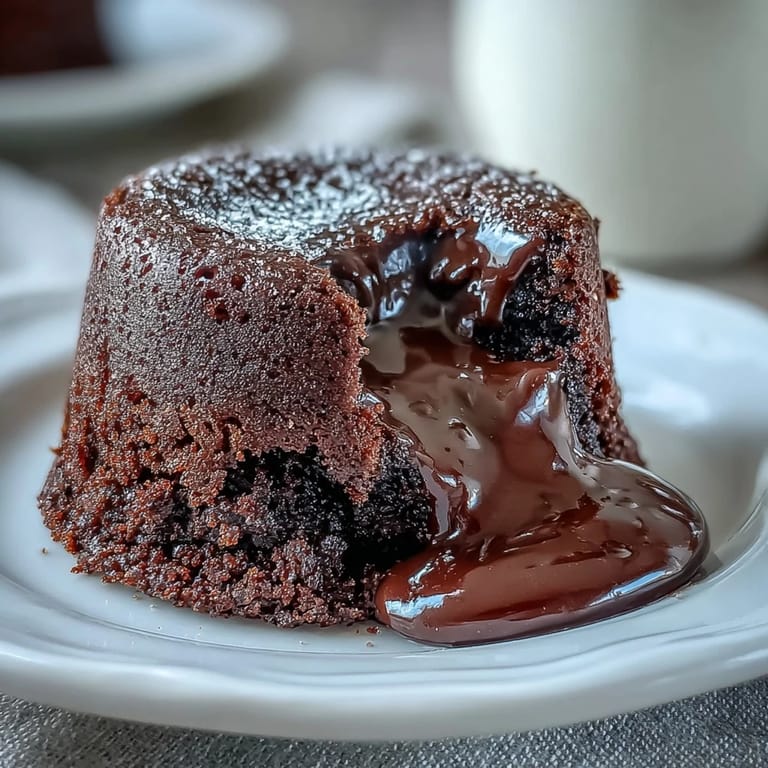
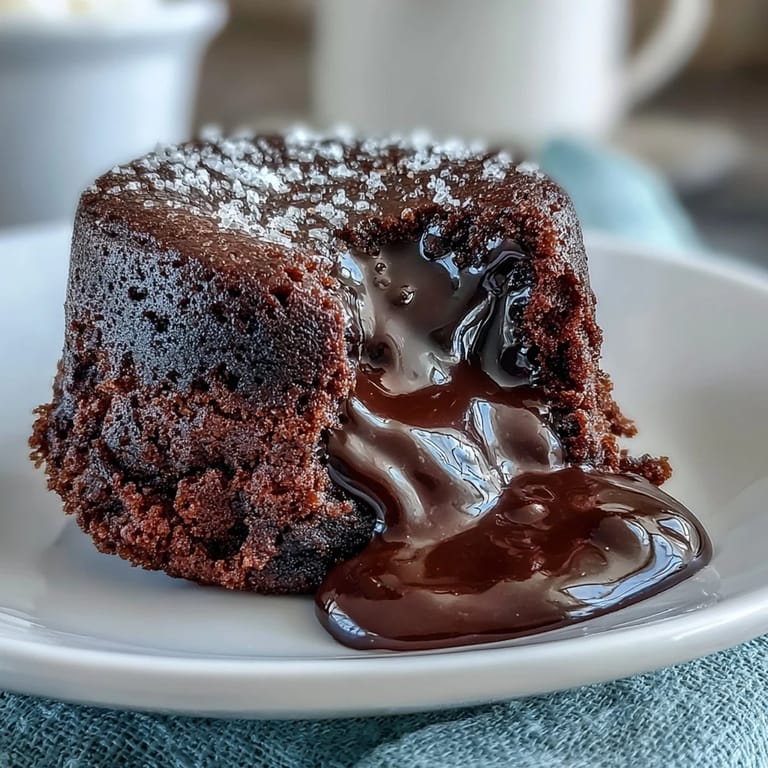
 The oven timer broke mid-bake the third time I made these, and I had to hover by the oven door like a nervous parent. That's when I learned the real tell: watching the edges puff while the centers stay dangerously jiggly. These little cakes demand attention, but they reward you with that perfect molten spill every single time. The espresso was a last-minute addition when I found a jar hiding behind the flour, and now I can't imagine them without it. Sometimes the best decisions happen because you're too lazy to go to the store.
I once served these to friends who claimed they didn't like chocolate desserts, which I now know is a lie people tell themselves. The moment those cakes hit the plates and the centers oozed out, the whole table went quiet except for spoons scraping ramekins. One of them actually licked her plate when she thought no one was looking. I've been chasing that validation ever since, and these cakes deliver it without fail.
Ingredients
- Bittersweet or semisweet chocolate (115 g, chopped): The backbone of the whole dessert, so use something you'd actually enjoy eating straight. I learned the hard way that baking chips don't melt the same way; bar chocolate is worth the extra chopping.
- Unsalted butter (115 g, plus extra for greasing): It makes the texture impossibly silky and helps create that lava effect. Don't skimp on greasing the ramekins or you'll be scraping cake off ceramic like I did the first time.
- Large eggs (2 whole, 2 yolks): The yolks add richness and help the centers stay gooey. Room temperature eggs whisk up lighter, but I've used cold ones in a pinch and survived.
- Granulated sugar (100 g): Just enough sweetness to balance the bittersweet chocolate without turning it into candy. Whisk it well with the eggs until it looks pale and airy.
- All-purpose flour (30 g): A tiny amount gives structure without making these cakey. Sift it or you'll get lumps that refuse to disappear no matter how much you stir.
- Instant espresso powder (1 tsp): This is the secret weapon that makes people ask what's different. It doesn't make them taste like coffee, just amplifies the chocolate in a way that feels almost unfair.
- Pure vanilla extract (1 tsp): A warm undertone that ties everything together. I've used imitation in emergencies, but real vanilla is noticeably better here.
- Pinch of salt: It sharpens all the other flavors and keeps the sweetness in check. Never skip the salt in chocolate desserts.
Tired of Takeout? 🥡
Get 10 meals you can make faster than delivery arrives. Seriously.
One email. No spam. Unsubscribe anytime.
Instructions
- Prep Your Ramekins:
- Preheat the oven to 220°C (425°F) and generously butter four ramekins, then dust them with cocoa powder. Tap out the excess like you're getting rid of evidence; this step is the difference between cakes that slide out gracefully and ones that crumble in the ramekin.
- Melt the Chocolate and Butter:
- Set a heatproof bowl over a pan of simmering water and melt the chocolate and butter together, stirring until smooth. Let it cool slightly so it doesn't scramble the eggs later; I learned that lesson with a grainy, sad batch that went straight into the trash.
- Whisk the Eggs and Sugar:
- In a separate bowl, whisk the eggs, egg yolks, and sugar until pale and thickened, about 2 to 3 minutes. It should look like it doubled in volume and leaves ribbons when you lift the whisk.
- Add Espresso and Vanilla:
- Stir the espresso powder and vanilla extract into the chocolate mixture until fully dissolved. The espresso will bloom in the warm chocolate and smell like the best coffee shop you've ever walked into.
- Combine Chocolate and Eggs:
- Gently fold the chocolate mixture into the egg mixture, using a spatula and moving slowly. This isn't the time to rush; you want to keep all that air you just whipped in.
- Fold in Flour and Salt:
- Sift in the flour and salt, folding gently until just combined. Stop the second you don't see dry streaks; overmixing turns these into regular cakes instead of lava miracles.
- Fill and Bake:
- Divide the batter evenly among the prepared ramekins and place them on a baking sheet. Bake for 11 to 13 minutes, until the edges are set but the centers still jiggle when you gently shake the pan.
- Rest and Invert:
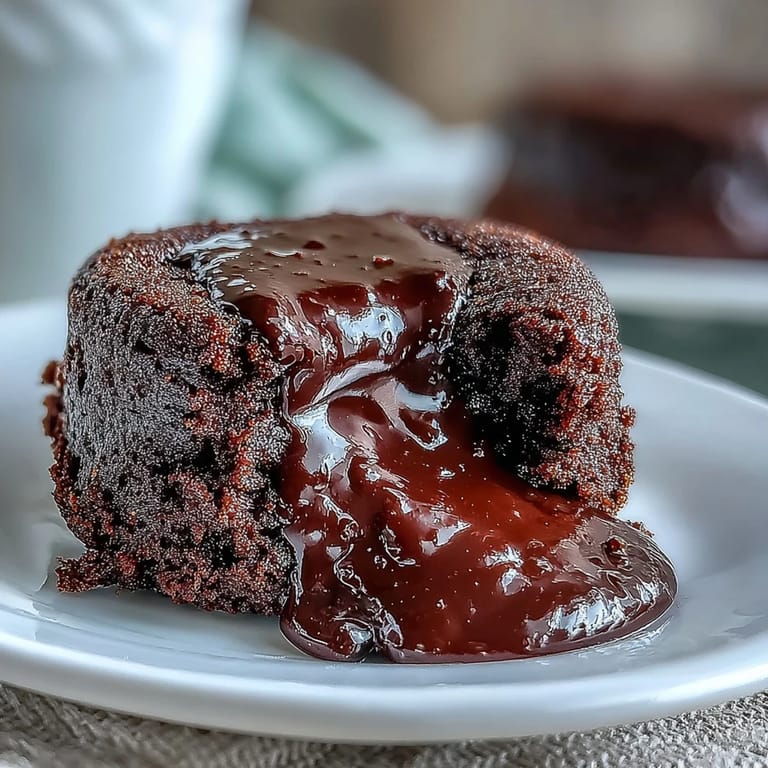
- Let the cakes rest for 1 minute, then run a knife around the edges and invert onto dessert plates. Serve immediately while the centers are still molten and the tops are barely holding it together.
 Save to Pinterest
 The first time I nailed the timing, I stood in my kitchen at 10 p.m. on a Tuesday, alone, and ate one straight off the plate with a spoon. The center spilled out just right, and I felt like I'd finally joined some secret society of people who can make restaurant desserts at home. I texted a photo to my sister, who replied with three flame emojis and a request to make them for her birthday. These cakes have become my signature move, the thing I bring when I want to show up and show off just a little.
Make-Ahead Magic
You can prepare the batter a few hours ahead and keep the filled ramekins in the fridge, which is a lifesaver when you're hosting. Just bring them to room temperature for about 20 minutes before baking, or add an extra minute to the bake time if you're impatient. I've done this for dinner parties and it makes the whole evening feel less frantic, like I have my life together even when I absolutely don't.
Serving Suggestions
A scoop of vanilla ice cream on the side is the classic move, and watching it melt into the warm chocolate is almost as satisfying as the first bite. Whipped cream works too, especially if you add a little vanilla or a splash of bourbon to it. I've also dusted the tops with powdered sugar and served them with fresh raspberries, which makes them look like they came from a bakery and adds a tart contrast that cuts through the richness.
Customizing the Flavor
If you want a more intense coffee flavor, bump the espresso powder up to 1½ teaspoons, but be warned it will start tasting distinctly like mocha. I've also tried adding a pinch of cinnamon or cayenne for warmth, and both were interesting but the classic version is still my favorite. Orange zest in the batter is another option if you're feeling fancy, though I'd only add about half a teaspoon so it doesn't overpower the chocolate.
- Use dark chocolate (70% cacao) for a more intense, less sweet version that feels very European.
- Swap the espresso powder for a tablespoon of liqueur like Baileys or Kahlua if you want a boozy twist.
- If someone in your house is gluten-free, replace the flour with almond flour and they'll still turn out beautifully.
 Save to Pinterest
 These cakes have pulled me out of more dinner party jams than I can count, and they've never let me down. Make them once and you'll understand why people get weirdly emotional about chocolate lava cakes.
Recipe Questions & Answers
- → Can I make these ahead of time?
Yes, you can prepare the batter a few hours ahead and refrigerate it in the ramekins. Simply bring them to room temperature before baking to ensure even cooking and that molten center.
- → What type of chocolate works best?
Bittersweet or semisweet chocolate with 60-70% cocoa content works best. This provides rich flavor without being too bitter, and melts beautifully for that molten center.
- → How do I know when they're perfectly done?
The edges should be firm and set, pulling slightly away from the ramekin, while the center remains soft and jiggly when gently shaken. This typically takes 11-13 minutes at 425°F.
- → Can I skip the espresso powder?
Yes, though the espresso adds depth and enhances the chocolate flavor without making it taste like coffee. If omitted, the cakes will still be delicious but slightly less complex.
- → What can I serve alongside these cakes?
Vanilla ice cream is classic and provides a wonderful temperature contrast. Whipped cream, fresh berries, or a dusting of powdered sugar also complement the rich chocolate beautifully.
- → Why do I need to grease and dust the ramekins?
Greasing with butter and dusting with cocoa powder ensures the cakes release cleanly when inverted. This creates a beautiful presentation and prevents sticking or tearing.