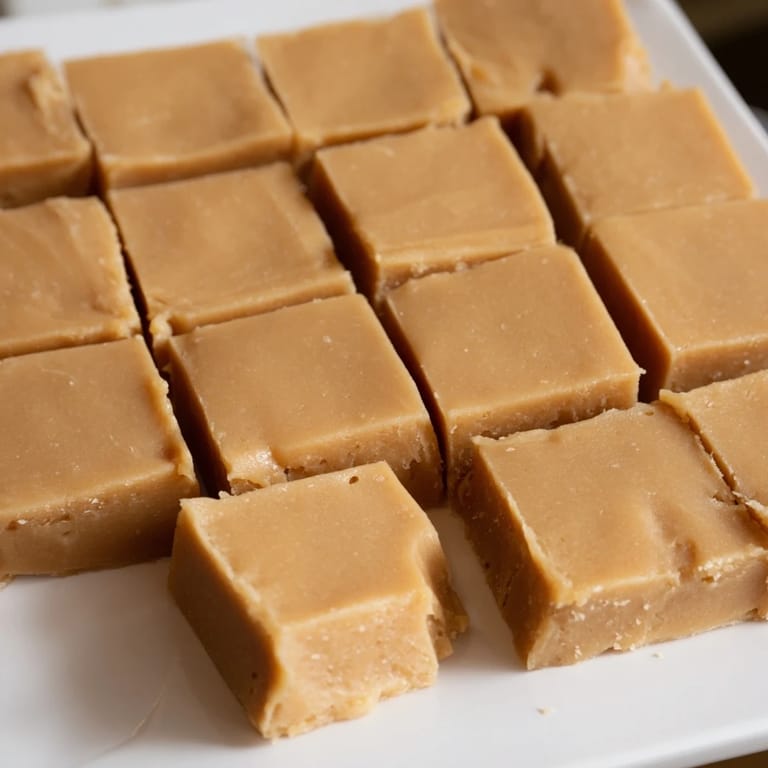
 Save to Pinterest
 There's something deeply satisfying about making fudge from scratch—watching butter and peanut butter melt together into that glossy, promising pool of flavor. I discovered this recipe on a rainy afternoon when my daughter asked if we could make something we could actually finish before dinner. What struck me most was how few ingredients it needed, and how the kitchen filled with this warm, nutty aroma that made the waiting feel worthwhile. This fudge became our thing: simple enough that she could help stir, rich enough that one piece actually meant something.
I remember bringing a batch to a winter book club and watching someone take a bite, pause, and immediately ask for the recipe—that moment when something homemade stops a conversation. My friend Sarah ate three pieces and admitted she'd been buying the expensive kind at the farmer's market. That's when I knew this recipe was worth keeping close.
Ingredients
- Unsalted butter (1 cup): This is your foundation; using unsalted lets the peanut butter shine without competing salt.
- Creamy peanut butter (1 cup): The soul of the fudge—don't use natural peanut butter unless you like an oily top layer.
- Pure vanilla extract (1 teaspoon): Just enough to deepen the peanut flavor without announcing itself.
- Confectioners sugar, sifted (3½ cups): The sifting step matters; lumpy sugar creates grainy texture and broken dreams.
Tired of Takeout? 🥡
Get 10 meals you can make faster than delivery arrives. Seriously.
One email. No spam. Unsubscribe anytime.
Instructions
- Set up your stage:
- Line your 8x8-inch pan with parchment paper, letting the edges drape over the sides like a safety net. This one step saves you from scraping dried fudge off the pan at midnight.
- Melt the foundations:
- Add butter and peanut butter to a medium saucepan over medium heat, stirring constantly. Watch them transform from solid blocks into a unified, silky liquid—usually takes about 3 to 4 minutes. You'll know it's ready when you don't see any swirls of unmixed color.
- Add vanilla and marry the flavors:
- Pull the pan off heat and stir in vanilla extract. This little pause lets the heat settle so you're not cooking off the vanilla's delicate notes.
- Bring in the sweetness gradually:
- Here's where patience wins: add the sifted confectioners sugar in stages, stirring hard each time until it fully disappears into the mixture. This prevents lumps and gives you control over the texture. The mixture will go from glossy to thick to almost clay-like, and that's exactly right.
- Transfer and smooth:
- Pour everything into your prepared pan and use a spatula to press it into an even layer. Don't overthink it—fudge forgives a few swirls.
- The hardest part—waiting:
- Refrigerate for at least 1 hour. I usually do this overnight because cold fudge cuts cleaner and tastes better.
- Release and cut:
- Lift the whole block out using the parchment overhang, place it on a cutting board, and use a sharp knife to cut 36 equal squares. A hot, dry knife helps; I run mine under hot water and wipe it between cuts.
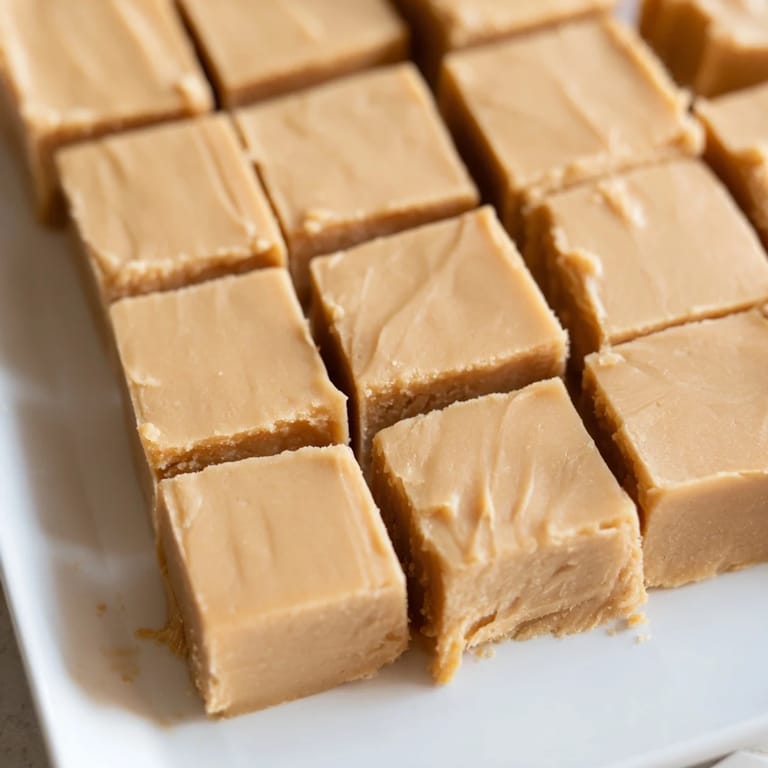 Save to Pinterest
 My cousin brought a girlfriend home for the holidays, and I sent her off with a box of this fudge. Three months later, I heard through family channels that it was still being talked about. It's funny how the smallest gestures—a homemade sweet, wrapped and given—can linger in someone's memory longer than you'd expect.
Simple Variations That Change Everything
Once you nail the basic recipe, small additions unlock completely different fudge personalities. I've learned to treat the base mixture like a blank canvas: fold in roasted salted peanuts for crunch, swirl in melted chocolate before chilling for a marbled effect, or swap vanilla for almond extract if you want something more mysterious. Each variation takes the same 10 minutes of active work but feels like a entirely new creation.
Storage and Giving
This fudge stores beautifully in an airtight container in the refrigerator for up to a week, which means you can make it Saturday and still be handing out pieces on Friday. For longer keeping, freeze it for up to 2 months—I wrap each piece individually in wax paper so they don't stick together. There's something wonderful about having homemade fudge waiting in the freezer for unexpected moments.
Why This Recipe Became a Kitchen Staple
What surprises people most is how few ingredients go into something so luxurious-tasting. The magic isn't in complexity; it's in using good butter and proper peanut butter without fussing things up. I've made this recipe at least 50 times now, and it's never disappointed. Each batch feels like a small act of care, which is exactly what fudge should be.
- Use a sifter for the sugar—a small strainer won't do it justice.
- Room temperature fudge tastes creamier; chilled fudge cuts cleaner.
- Gift it within the first few days when it tastes its absolute best.
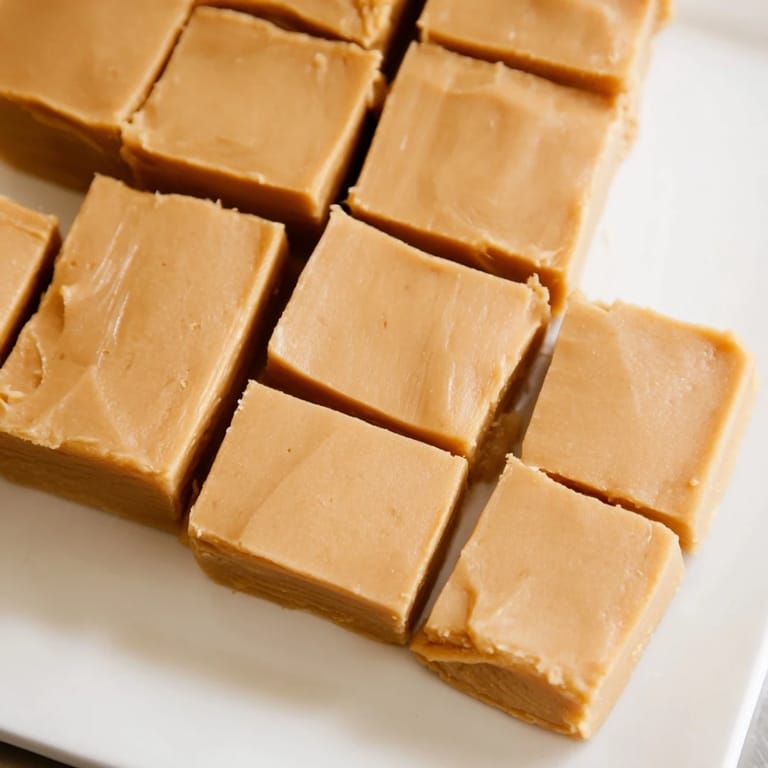 Save to Pinterest
 Making fudge is one of those rare kitchen moments that delivers luxury without drama. Share it, savor it, and don't apologize for how simple it is to make.
Recipe Questions & Answers
- → What is the best way to melt the peanut butter and butter?
Melt the butter and peanut butter in a medium saucepan over medium heat, stirring constantly until smooth, about 3-4 minutes. Avoid high heat to prevent scorching.
- → Can I use a different nut butter instead of peanut butter?
Yes, almond butter can be substituted to provide a different flavor profile while maintaining the creamy texture.
- → How can I add texture to this sweet treat?
Fold in ½ cup of roasted salted peanuts before pouring the mixture into the pan to add a crunchy texture.
- → What is the recommended chilling time?
Chill the mixture in the refrigerator for at least 1 hour until it becomes firm enough to cut into squares.
- → How should the finished squares be stored?
Store in an airtight container in the refrigerator for up to 1 week or freeze for up to 2 months to keep freshness.