 Save to Pinterest
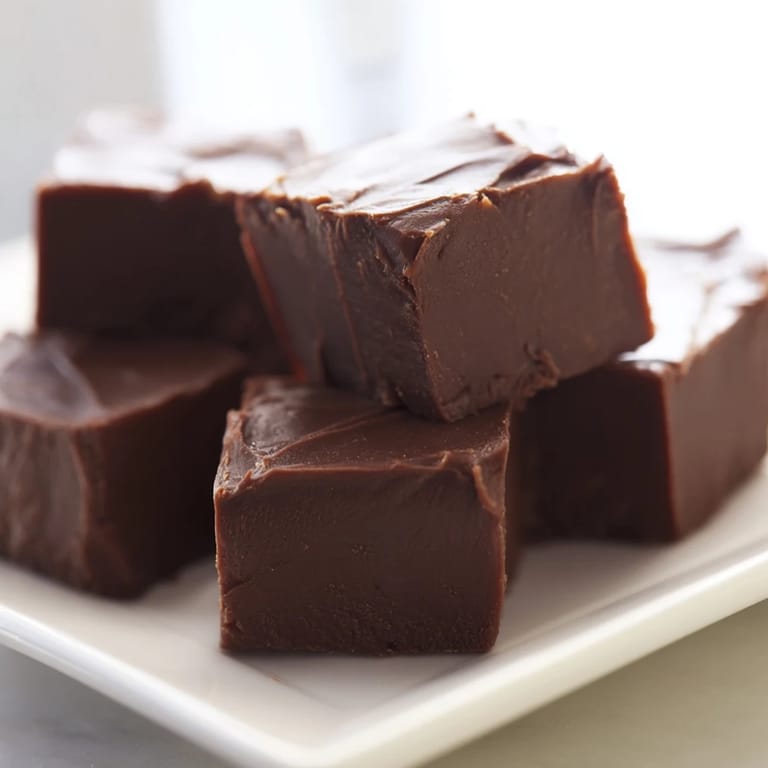
 My neighbor brought over a tin of homemade fudge on a snowy afternoon, and I watched her slice into it with this casual confidence I envied. The knife went through like butter, and each square was this perfect glossy rectangle—no cracks, no crumbling. She made it look effortless, but when I finally tried making it myself, I understood the small magic behind it: patience with a thermometer and respect for the soft-ball stage. Now fudge is my kitchen anchor, the one thing I make when I want to feel like I actually know what I'm doing.
I made this for a coworker who mentioned in passing that she missed her grandmother's fudge. Three days later she emailed me a photo of an empty box with just the word wow. That's when I realized fudge isn't really candy—it's a small edible apology, a thank you, a reason to knock on someone's door.
Ingredients
- Unsalted butter (1 cup): Use real butter, not margarine—it's the foundation of the creaminess and carries the flavor into every bite.
- Whole milk (2/3 cup): This is what softens the texture; skim milk won't give you that same velvety mouthfeel.
- Granulated sugar (3 cups): Don't skip on quality here; fine, uniform crystals dissolve better and cook more evenly.
- Semi-sweet chocolate chips or chopped chocolate (2 cups): The chocolate is the star, so choose something you actually enjoy eating by itself.
- Pure vanilla extract (1 tsp): A teaspoon feels small until you taste how much it matters—it rounds out the sweetness and adds depth.
- Fine sea salt (1/4 tsp): This tiny pinch is a secret weapon; it makes the chocolate taste more like itself.
Tired of Takeout? 🥡
Get 10 meals you can make faster than delivery arrives. Seriously.
One email. No spam. Unsubscribe anytime.
Instructions
- Prepare your stage:
- Line your pan with parchment paper, letting the edges hang over the sides like a safety net. This is how you avoid the fudge sticking to the pan and ruining everything you just worked for.
- Combine the base:
- Melt the butter over medium heat, then stir in sugar and milk until it looks like wet sand. Keep stirring—this patience prevents crystallization later.
- Bring it to a boil:
- Once everything is combined, turn up the heat slightly and let it bubble. You'll hear a change in the sound; that's when you know it's working.
- Watch the thermometer:
- This is the non-negotiable step. Attach that candy thermometer and stir frequently until it hits 238°F—the soft-ball stage. If you go too high, the fudge becomes grainy; too low and it won't set properly. It takes about 10-15 minutes, and you'll feel the mixture change from loose to thick under your spoon.
- Off the heat, add richness:
- Remove the pan from heat immediately and add chocolate, vanilla, and salt. Stir vigorously until everything melts into this glossy, almost luxurious paste.
- Pour and smooth:
- Work quickly while the mixture is still warm and pourable. Pour it into the prepared pan and use a spatula to smooth the top; this is your only chance to make it neat before it sets.
- Let time do its thing:
- Leave it at room temperature for 2 hours. Don't be tempted to refrigerate early—the slow cooling creates that perfect tender texture.
- Cut with intention:
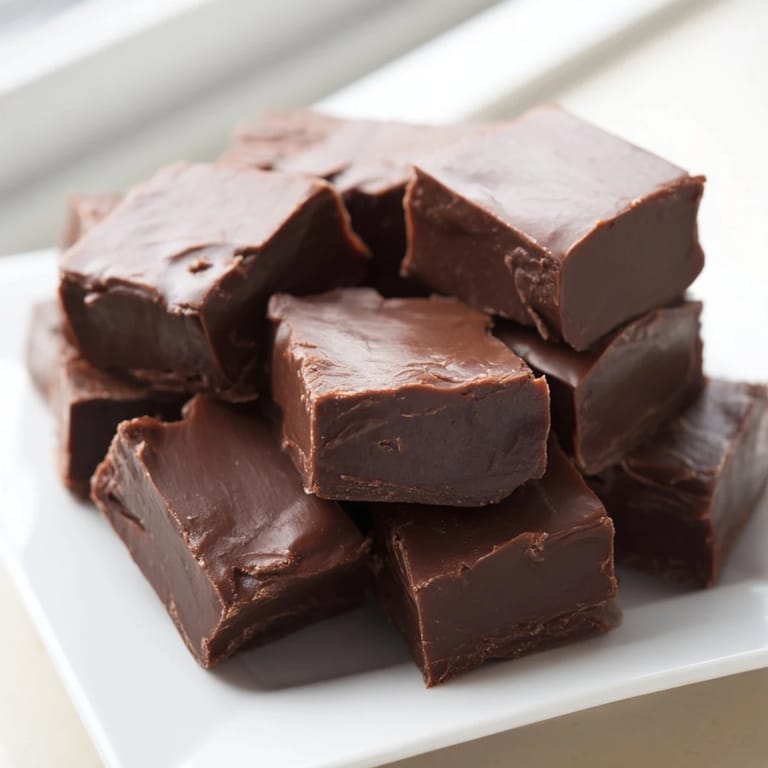
- Lift the fudge out using the parchment overhang and cut into 36 squares with a sharp knife. Wipe the blade between cuts for clean edges.
 Save to Pinterest
 My daughter once asked why I made fudge instead of just buying it, and I didn't have a good answer until I realized: it's because something homemade, something you made with your own hands on a regular Tuesday, tastes like proof that you care. That's fudge.
Why the Soft-Ball Stage Matters
The soft-ball stage—that magical 238°F—is where sugar becomes fudge instead of toffee or taffy or just crystallized sugar regret. At this temperature, the sugar molecules are packed with moisture but structured enough to hold together once you add the chocolate and start beating. Too hot and you've made brittle; too cool and you've made a fudgy puddle that never firms up. The first time I used a thermometer, I thought it was overkill until I realized it was the difference between fudge and failure.
The Beating Technique
After you add the chocolate and vanilla, you'll notice the mixture starts to resist your spoon—that's the signal you're doing it right. The vigorous stirring is what transforms a glossy chocolate soup into actual fudge. You're aerating it slightly and helping the sugar crystals and chocolate distribute evenly, which is what creates that smooth, melt-in-your-mouth texture instead of a grainy mess.
Room Temperature Cooling Is Essential
I used to rush fudge into the refrigerator, thinking it would speed up the process, but it never came out right—either too soft or weirdly textured. Room temperature cooling lets the fudge set gradually and evenly, which is when it develops that perfect tender-but-firm bite. If you absolutely need faster setting, you can refrigerate after the initial 2 hours, but not before.
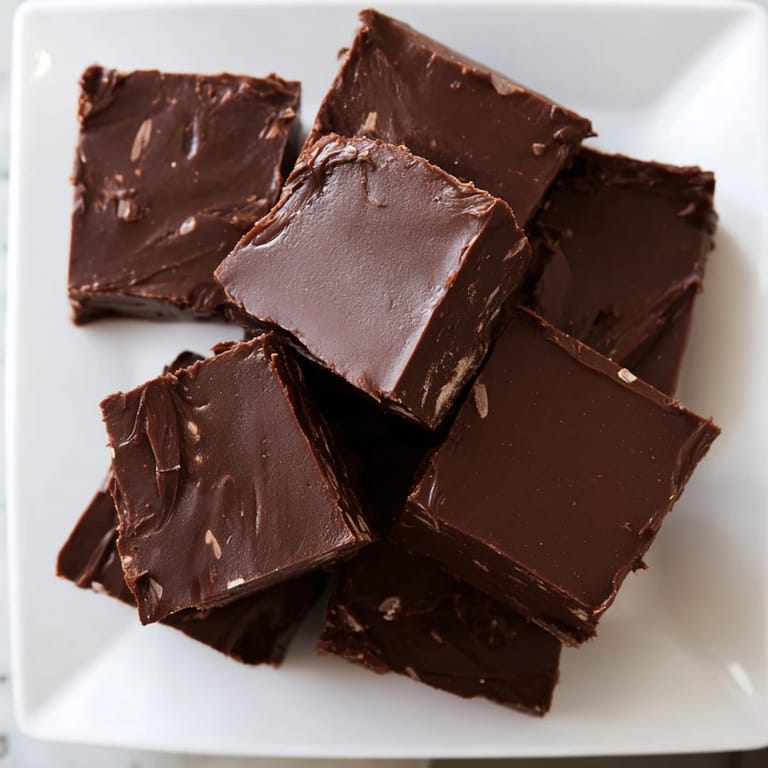
- Keep fudge in an airtight container at room temperature for up to two weeks, or freeze for up to three months.
- Add toasted walnuts or pecans if you want nutty fudge, but fold them in gently just before pouring.
- A tiny sprinkle of fleur de sel on top before it sets creates a sophisticated contrast—a small detail that feels intentional.
 Save to Pinterest
 Making fudge is one of those kitchen skills that feels like a small victory every single time, even when you've made it a hundred times. Once you nail it, you'll make it again and again.
Recipe Questions & Answers
- → What is the soft-ball stage in cooking?
The soft-ball stage is a candy-making term indicating when a sugar syrup reaches about 238°F (114°C), forming a soft, pliable ball when dropped into cold water, crucial for the right fudge texture.
- → Can I use different types of chocolate?
Yes, milk or dark chocolate can be used based on preference, each imparting unique flavors and sweetness levels to the confection.
- → How can I add a nutty flavor?
Fold in chopped toasted walnuts or pecans before pouring the mixture into the pan to add texture and a nutty depth.
- → What tools ensure smooth mixing?
A heavy-bottomed saucepan for even heat, a candy thermometer for accurate temperature, and a sturdy wooden spoon or spatula to stir thoroughly are essential.
- → How do I store the finished squares?
After cooling and setting, store squares in an airtight container at room temperature or chilled for a firmer texture, maintaining freshness for days.